December 30, 2012

December's Across The Pond Project

Just in the nick of time...
I've finished my December project


Our lovely Amanda, The Patchsmith,
has outdone herself this month,
with TWO versions of a clever and useful placemat.

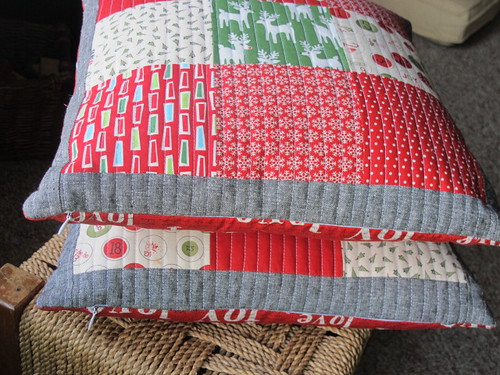
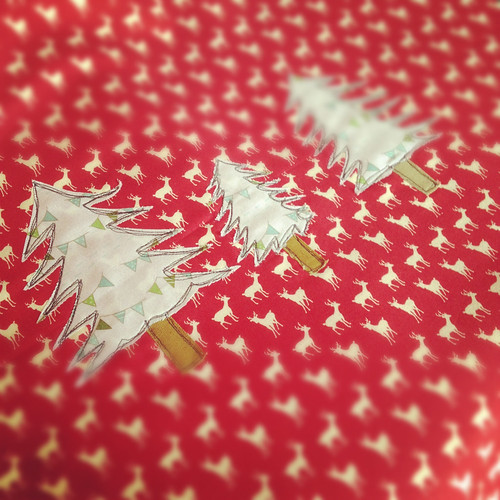
One features whimsical appliqued trees...


And here is the paper-pieced style!


I happen to love the paper-piecing process,
so I chose to make that version of Amanda's pattern.
This is what mine looks like!


 If you don't mind a bit of detail...
and a lot of photos...I'll walk you through my design process.

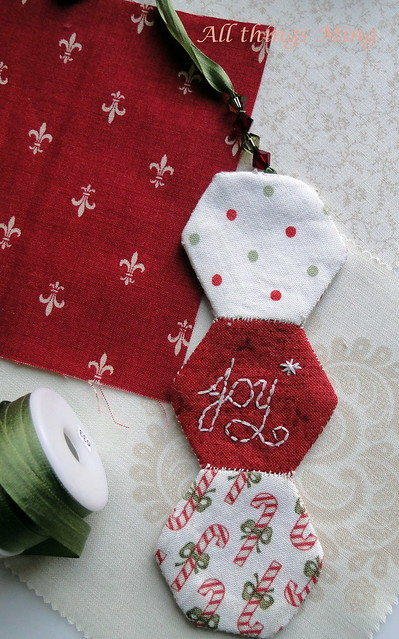
Fabric selection is almost always the best part for me!
I started with some fat-eighths from my Cherry Christmas bundle,
by Aneela Hoey for Moda,
and I still have plenty left for other projects.

{Whew! I can continue to hoard some of it!}


I mixed in a couple of other prints, like some Modern Meadow by Joel Dewberry and Glace by 3 Sisters for Moda. 

{I love the celery greens with tiny bits of red and brown.}


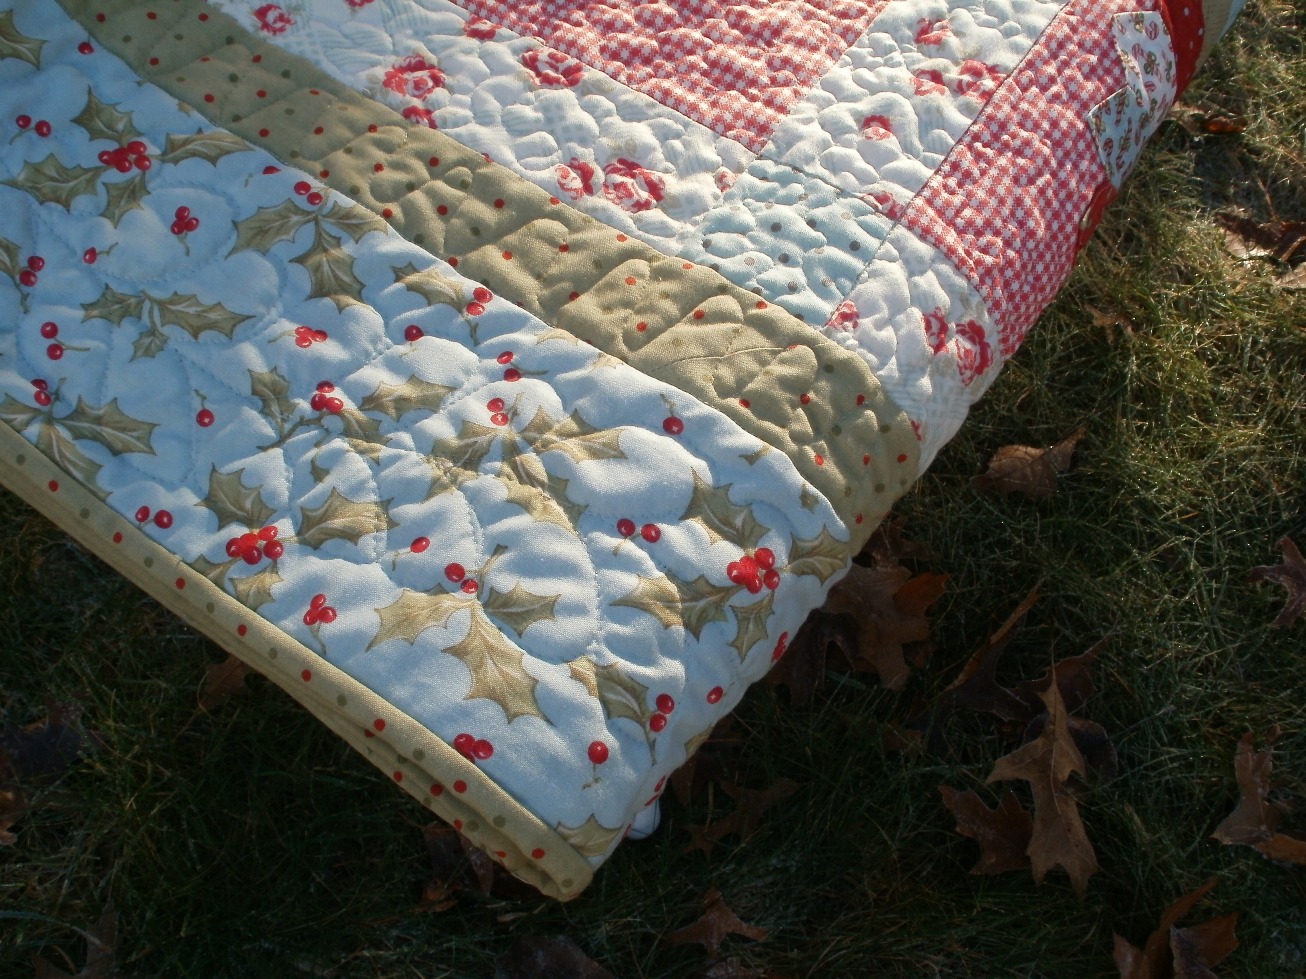
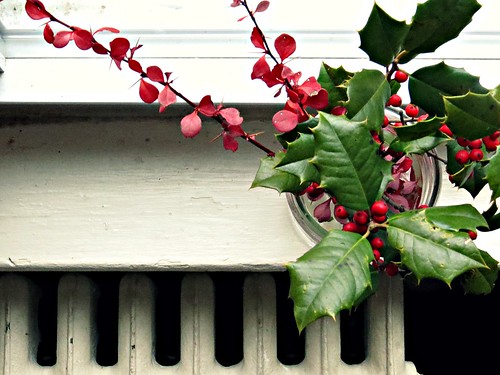
I had more fun creating the snow-topped trees,
especially because we have some REAL snow outside!

{The little birdies on the trees are too sweet!  Oops...some of them are upside-down!}


Once the trees were stitched and pieced to the background...


it was simple to finish up the top with patched borders.

{I skipped the napkin ring, because I may want to use
mine as a wall hanging sometimes.}


My background was an ivory linen.
Maybe I could have selected a sharper contrast, but I like it very much.
The linen is luscious for quilting, especially once I got it fused
to my dear friend, Pellon 987F fusible fleece!

{The overlapping straight lines in the corner are my favorite part of the stitching.}


For the borders, I made some crisscrosses, and the quilting was done!


and my edges came out perfect in no time!


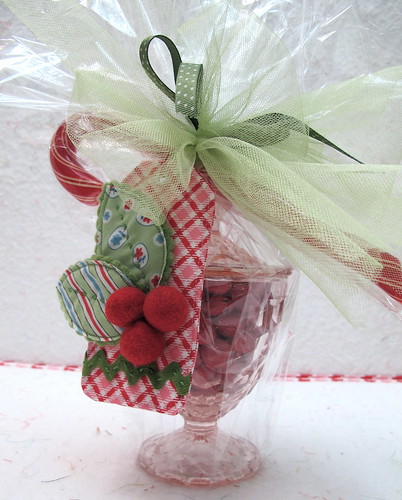
This project is very versatile and would make an adorable table topper...


as well as a useful placemat.


I'm going to enjoy it all winter long!


Susie, Amanda, and I welcome you to jump in 
and join the Across the Pond Sew Along,
at any time!

{Jump in to the Sew Along, that is...NOT the Pond!}

Please feel free to share photos in our Flickr group!
Happy New Year, friends!


Pin It

December 24, 2012

Merry Christmas - Vintage Style

Have I ever revealed my age on my blog?

Let's just say it like my friend Jeff said it...
I'm a product of the 50's, born in the 60's.

{Clever, but shocking!}


In my creative world,
I am drawn to all sorts of styles,
but the Vintage/Retro colors and designs really
touch me, for some reason.
Especially at Christmastime,
I love the fonts and drawings 
that were first popular in the late 1950's and early 60's.


There was a distinctive color palette, too, in that era.
It evokes Christmas memories from my own childhood,
but the same colors appeal to lots of younger folks, too!


Fortunately for me,
this style is very popular again today!


{It is even sometimes described as  MODERN!}


As my gift to you,
here are a few more Christmas images from my Pinterest board
called Merry Christmas!


{I have over 90 images on that board, so head on over,
if you'd like to see more.}


{You are always welcome to Follow me on Pinterest, too.}


I wish I could give you some of my homemade Spritz cookies in person.


Most of all, though, I wish each of you a very Merry Christmas!


Pin It

December 18, 2012

Big Finish - Winter Dresden Quilt

If you've stopped by my blog before,
or followed me on Pinterest...


or Flickr...


you may have caught a glimpse of my
Winter Dresden quilt in progress.

way back in January.

{Uh-Oh...I think I was supposed to have a finished quilt by...March 2012.}


I had the wisdom and foresight to make mine a Christmas-y/winter quilt,
so I set a goal that was more my speed...
to finish it in time for Christmas.

{I did it!}

This quilt was soooo enjoyable to make from the free pattern by Bunny Hill.
I had the most fun stitching the Dresden plates,
and I've got a couple of extras for making some matching pillows.

But for now,the quilt is just right for snuggling on the couch
with my little dog, Ginger.


I've had a few questions about how I quilted mine.
I use my regular sewing machine - a Pfaff 2040
that I've had for about 12 years.

I use spray basting to hold my quilt sandwich in place.
I almost never start quilting the same day as I spray,
and I don't have issues with the needle getting sticky.

I use the time-honored "fluff and stuff" technique.
I just focus on quilting the area under the needle,
not worrying about all the rest of it.

The first step is to stitch stabilizing lines,
in the ditch, with matching neutral thread...
along every border and sashing line
vertically and horizontally.


That leaves the blocks and the borders ready for
more creative free motion quilting designs.
I switch to invisible thread at this point,
so I don't interrupt my favorite fabric prints.

I made a petal design on the blades of the Dresden plates.
Then I stippled the centers and around each plate for every block.


{It didn't take that long, and I love how it looks on the back.}


For the skinny border, I just made a wavy line.


For the corners and the centers of the outer borders,
I drew a holly design, then traced it onto some Golden Threads paper.
I made 8 layers of the paper and stitched the design
on the whole stack at once,
with only the needle...no thread...to mark the pattern.

{See the holes making the design on the left?}


Then I laid the paper with the design on top of the quilt and stitched away.  
When I was done, I patiently picked the paper off.

{Yeah...right.  I had some tweezers, which helped.}


It doesn't show up a lot, but it's my favorite part.
Here is a view of the back.


To finish the border, I added my OTHER favorite part...
lots of free-form feathers.


{The Scrappy Plate Club pattern used scalloped edges,
but I kept mine straight instead, since this is a lap quilt.}

I like the binding print, which matches the skinny border.


I am just delighted with my new quilt, and the fond memories of 2012.


Pin It

December 13, 2012

Living Color - Red and Green

It's beginning to look a lot like Christmas...
everywhere you go!

{I love that song.}

beth-yellowhousedays on Flickr
Today I'm going to share some of my favorite finds 
on Flickr and Pinterest,
featuring the colors of the season.

Let's get started with this appetizing rosemary wreath,
adorned with olives.

Julia M Usher via Pinterest

Even Mother Nature loves to decorate for Christmas.

Jim 20X Canon1 on Flickr

Try cutting some poinsettia bracts,
sealing the cut ends in a flame,
and arranging them in a vase or pitcher...
for a stunning display that will last for about a week!

A Spoonful of Sugar on Pinterest

I've actually used this idea for years
with a fishbowl shaped vase,
filled with some holly and water.
Float some fresh cranberries
and a votive candle.

{A large pillar candle also looks awesome in the center,
in place of votives.}
 
bhg.com on Pinterest

For comfort and joy,
how about some cushy cushions?

Sew Peachey on Flickr
I am filing this away for next year's projects...
little trees stitched casually onto a great background print.

{Perfect fabric selections!}

One ShaBby ChiCk on Flickr

Look at these little sugared cranberry and brie bites...
I would love to try making them sometime!


yummymummykitchen.com via Pinterest

This is such a pretty place setting,
and I love the touch of tulle, for a suggestion of snow.

betweennapsontheporch.net on Pinterest

Speaking of tulle...here it is in soft green, 
all dressed up with a handmade gift tag!

{I would love to find this fabulous present
under my Christmas tree any year!}

Bee In My Bonnet on Flickr

Here's another darling little gift tag, also
featuring Winter fabric by Minick and Simpson for Moda!

{That's the same line I've used in my Winter Dresden quilt,
and you'll finally get to see the finished quilt in my next post...I promise!}

All things Ming on Flickr


Pin It